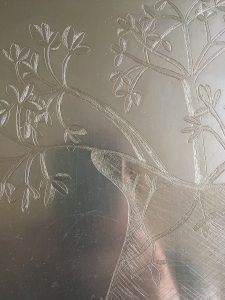
A very old print-making technique
Etching goes right back to the Middle Ages and is one of the first forms of sophisticated print-making. Similar to engraving, etching also started out as a way of decorating metal – weapons and shields mostly. It took a fellow called Daniel Hopfer, a craftsman based in the south German city of Augsburg, to apply the technique to print-making. Probably at the turn of the Sixteenth Century.
Over the centuries, etching has been used consistently by some of the greatest painters. Rembrandt was a particular expert, but it was also popular with Goya, Pissarro, Picasso and – more recently Hockney. These are the ones I particularly like.
Etching process
If you – as I did – want to take up etching, the first thing you have to get to grips with is the process. There are so many things to remember. And you have to do things in the right order.
First, you get your metal plate. This can be steel, zinc or copper. It can be backed or un-backed. Backed zinc is the easiest one to use if you’re starting out, but it is a bit more expensive. You cut it to the right size using a special and rather terrifying industrial guillotine.
Cleaning the plate
Then you need to clean the plate with a nasty concoction of substances, including ammonia, to eliminate all traces of grease. If you don’t do this, you get a rather speckled appearance on your plate. You might see that on my etchings (it’s called foul bite). I always think I’ve got it perfectly clean, but maybe this is an area I need to work on!
Adding the “ground”
Once you’re sure your plate is clean, you roll on a layer of “ground”. This is a waxy substance that you cover the whole of one side of your plate with. It can be “hard” or “soft”. The hard ground is the one to go for if you want strong lines (and if you want to transport your plate anywhere). If you want to add texture and painterliness to your etching, go for the soft ground. I always choose hard ground because of the effect I’m looking for.
Starting to draw
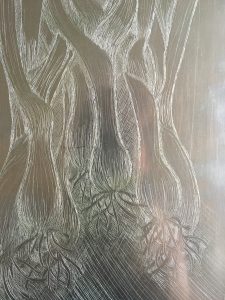
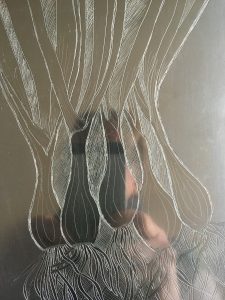
This is when you can start drawing through the wax with your etching needle. You don’t scratch the metal underneath – you just reveal it. Once you’re happy with what you’ve drawn – maybe your outlines only to start with, you put the whole plate into a bath of diluted nitric acid. The longer you leave it, the darker the line will ultimately be. Once you take it out of the acid, you can then keep on adding more and more detail, putting the plate into the the acid as many times as you need.
You always have to bear in mind that the first lines you etched will get repeated exposure to the acid, which means they’ll get darker and darker. Etching is all about going from dark to light – the last lines you etch will be the faintest. My Sea Bass etching shows this very clearly. The fish outlines are dark – so are the tails, but the scales (which I did last) are light and delicate.
Printing
Once you’re happy with your design you can go ahead and print. And this is when it gets really messy. Having prepared your paper and popped it into a bath of water to get it nice and damp, you clean off the remaining ground with white spirit and then ink up the plate itself. Then you take as much of the ink as you possibly can off again, so that it’s only the lines themselves that are carrying it. This is laborious and the reason why top artists pay someone else to do this!
Once you’re ready, you then place the plate on the press, put the paper on top of it and roll it through.
I’ll explain what aquatint is in a separate post!
